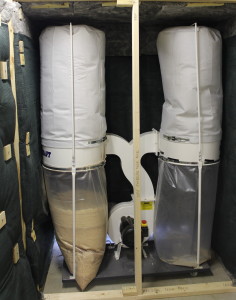
For a while now I’ve been meaning to play with making a Thien Baffle for my garage workshop. The motivation is that whilst I have a quite nice 3HP dust extractor (for those in the market for such a thing — don’t spend $1,400 with some retailers — I am super happy with my $500 unit from Leda Machinery), I want to keep the number of times I change the bags to a bare minimum. I see the dust extractor as a way of controlling potentially dangerous very fine dust, whereas some of the machines in my workshop create a lot of very large shavings — the thicknesser seems like the most obvious culprit here. It would be cool to divert these larger shavings into a bin where I can just use them as garden mulch, and then save the dust extractor bags for the fine and more dangerous dust.
However, this raises a few questions…
What is a Thien Baffle? Named after Phil Thien, who developed them initially, a Thien Baffle is a way of building a cyclonic dust separator from pretty much any cylindrical container. You can see Phil’s web site at http://www.jpthien.com/cy.htm, although he has also kindly setup a discussion forum where people building baffles can talk. Unfortunately for the Sunday afternoon woodie, Phil believes that everyone should tweak their own design for the baffle, so you wont find something simple like a SketchUp plan or cut list on his site.
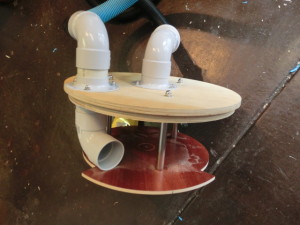
Mattias Wendell has also shot a good video of his hybrid Thien Baffle that he used in his home made dust extractor. This does have a plan, but is integrated into a home built dust extractor which is a bit further than I wanted to go.
Undaunted by the lack of a plan, I decided to build a prototype to see how hard it could be. Mine is built from a metal garbage bin I was already using for wood turning shavings, which I decided could be repurposed for the baffle when I was using the thicknesser. I chose metal because it is more robust, but also because I am hoping it will reduce the amount of static electricity that the dust causes in the bin. I’m not too worried by explosions, but I theorise that static buildup could cause the fine dust to cling to the bin instead of continuing on to the dust extractor.
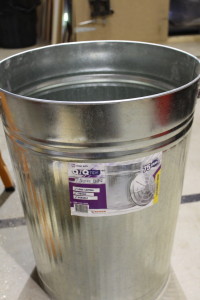
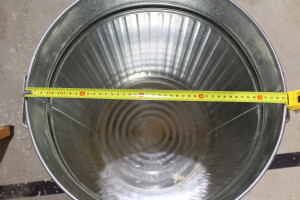
I happened to have a couple of smaller sheets of 9mm marine ply handy. Most of the people online that I’ve seen have used thicker materials, but this is what I had on hand from a previous failure to measure accurately and it seems to work fine. We need to make two wooden circles from these sheets. The fist is about 140mm down into the bin, and the second sits at the top of the bin (mine ended up being about 20mm down from the rim). For both of these I measured the diameter across the bin at the right depth using a tape measure — this was made a lot easier because the metal bin has two seams for me to align with.
This measurement was then used to mark a circle on the ply using the circle marking thingie I bought from Bunnings a few months ago when my 12 year old came home and announced that he had to build a working hydro-electric power station over a weekend at zero notice. That’s another rant, but let’s just say that we got it done. I cut the circles out with a jig saw. I would have used a band saw, except I don’t have one. I’ve also seen people use a router to make these cuts, but that seemed like overkill for the task at hand.
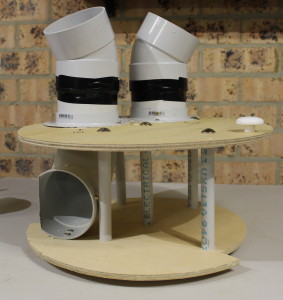
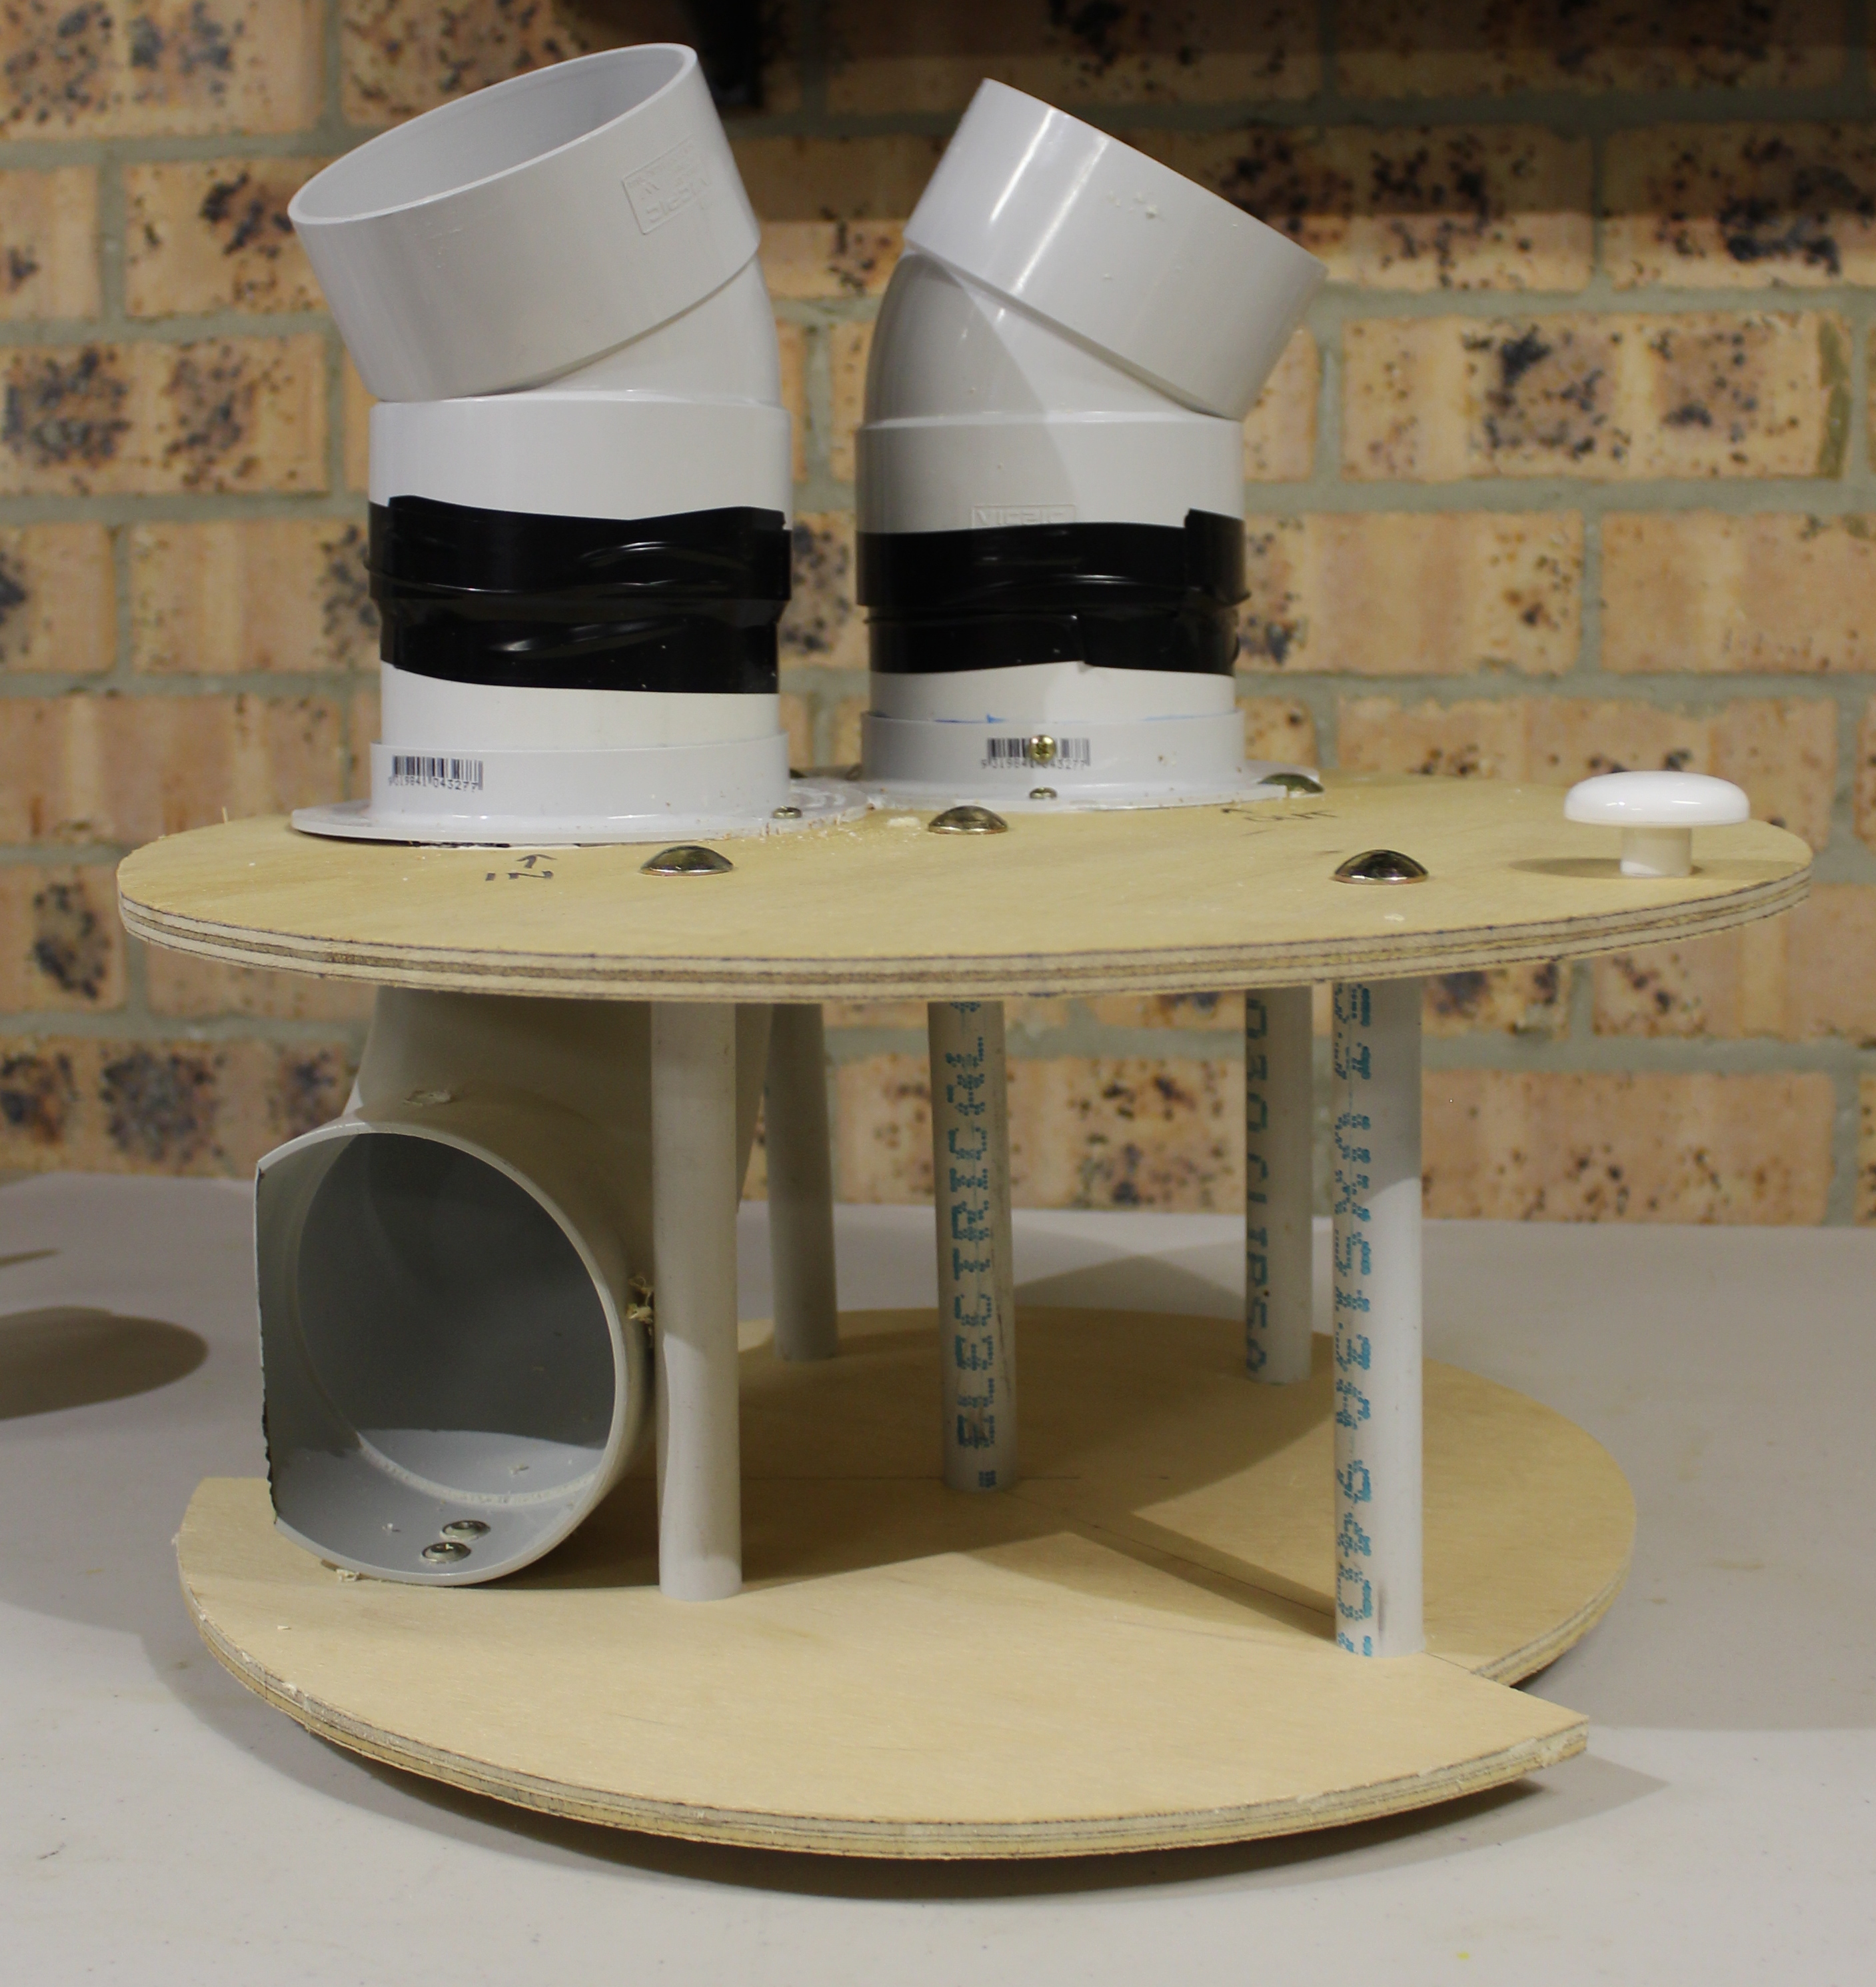
The smaller of the two circles needs a channel cut in its side (you can see this detail in the photo above). The characteristics for this channel aren’t well documented, I think because it varies based on the amount of airflow you can achieve with your extractor, as well as the size of the bin. I ended up going with a channel that has a radius 34mm smaller than the circle, and had the channel cover 230 degrees of arc. Again, mark the circle with the circle drawing thingie, and then cut that out with the jig saw.
These two circles are separated by rods. Specifically Thien used threaded rods, but I’m much too lazy to cut rod to length and then file it so the thread still works. I instead used 150mm bolts from Bunnings. So that the bolts keep the circles apart, I used some pieces of electrical conduit I had lying around to make spacers. Now would be a good time to drill the holes the bolts go through in the two circles, although I did this step later. The first bolt has its holes drilled separately in each piece, with the hole being in the center of the circle as marked by the circle drawing thingie (I’m going to have to call it a compass eventually I suppose). Then you can insert that bolt through both circles and use it to align the other bolt holes.
I placed four other bolts through the two circles (to a total of five bolts) with them spaced at approximately 90 degrees around the circumference of the bottom circle. That’s probably overkill, and you need to be careful to avoid places where you’re going to mount 100mm PVC connectors. That’s mostly why I left the bolts until later, but it would be much easier to drill the holes now when the PVC isn’t in the way. Its up to you really.
Now we just need to place the PVC connectors. The inlet has a 90 degree elbow on it, and I went as far as to trim the corner off the end of the elbow so that it was shooting the incoming air against the side of the bin. I have no idea if that was overkill or not, but I did get to use the big scary cut off saw so that made it worth it. The inlet is aligned so that it fires the air over the part of the rim of the smaller circle which has not had the channel cut out. The outlet is then placed behind the inlet, so that air travels around the entire circumference of the bin before being removed to the dust extractor. The basic idea here is that as the air travels around the circumference of the bin the larger particles build up some momentum and continue in a spiral down the side of the bin whilst the air and finer dust is removed to the extractor.
Finally I wanted to do a test run, so I hooked the Thien Baffle up to my thicknesser and ran some pine through it.
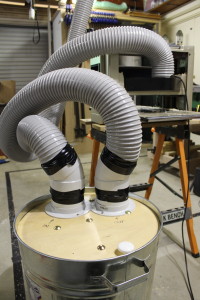
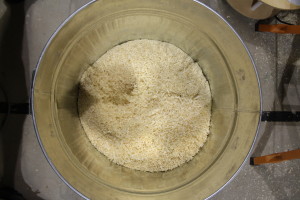
I know at the beginning I said this was a prototype, but frankly the first attempt works so well I don’t think I will make another. Checkout the shavings in the bin! There is no noticeable dust in the extractor bags after this thicknessing session.
Overall I’m super pleased with this little experiment. It only took an hour or so to build, and will significantly reduce the number of times I have to change the bags on the dust extractor.
1 thought on “Building a Thien Baffle”