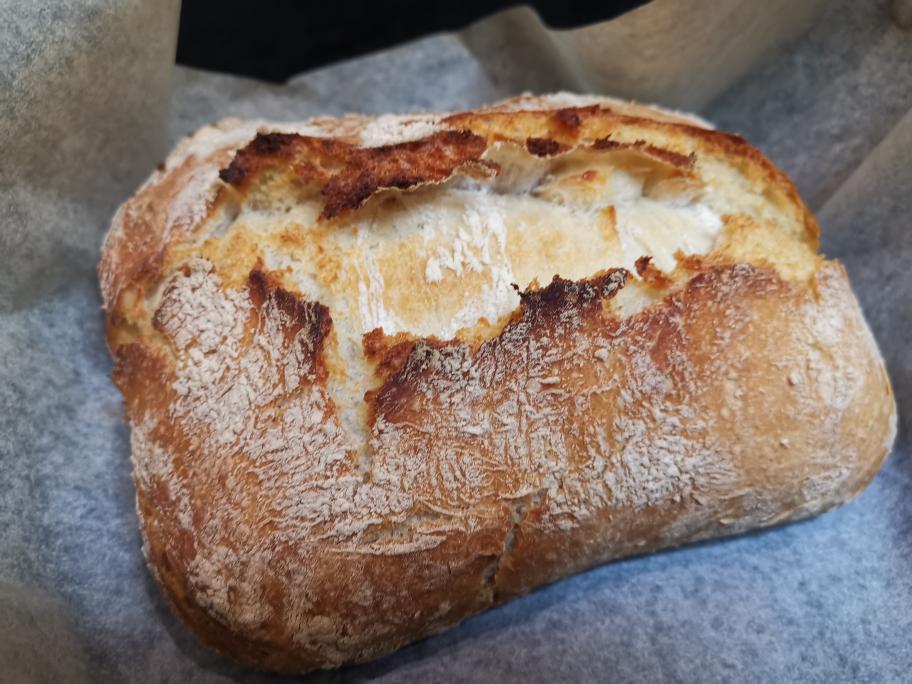
This is the second in a series of posts documenting my adventures in making bread during the COVID-19 shutdown. Yes I know all the cool kids made bread for themselves during the shutdown, but I did it too!

So here we were, in the middle of a pandemic which closed bakeries and cancelled almost all of my non-work activities. I found this animated GIF on Reddit for a super simple no-kneed bread and decided to give it a go. It turns out that a few things are true:
- animated GIFs are a super terrible way store recipes
- that animated GIF was a export of this YouTube video which originally accompanied this blog post
- and that I only learned these things while to trying and work out who to credit for this recipe
The basic recipe is really easy — chuck the following into a big bowl, stir, and then cover with a plate. Leave resting a warm place for a long time (three or four hours), then turn out onto a floured bench. Fold into a ball with flour, and then bake. You can see a more detailed version in the YouTube video above.
- 3 cups of bakers flour (not plain white flour)
- 2 tea spoons of yeast
- 2 tea spooons of salt
- 1.5 cups of warm water (again, I use 42 degrees from my gas hot water system)
The dough will seem really dry when you first mix it, but gets wetter as it rises. Don’t panic if it seems tacky and dry.
I think the key here is the baking process, which is how the oven loaf in my previous post about bread maker white loaves was baked. I use a cast iron camp oven (sometimes called a dutch oven), because thermal mass is key. If I had a fancy enamelized cast iron camp oven I’d use that, but I don’t and I wasn’t going shopping during the shutdown to get one. Oh, and they can be crazy expensive at up to $500 AUD.

Warm the oven with the camp oven inside for at least 30 minutes at 230 degrees celsius. Then place the dough inside the camp oven on some baking paper — I tend to use a triffet as well, but I think you could skip that if you didn’t have one. Bake for 30 minutes with the lid on — this helps steam the bread a little and forms a nice crust. Then bake for another 12 minutes with the camp over lid off — this darkens the crust up nicely.

Oh, and I’ve noticed a bit of variation in how wet the dough seems to be when I turn it out and form it in flour, but it doesn’t really seem to change the outcome once baked, so that’s nice.
The original blogger for this receipe also recommends chilling the dough overnight in the fridge before baking, but I haven’t tried that yet.