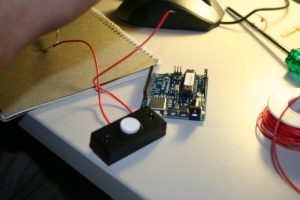
When I was a child, I had a doorbell at my bedroom door to ward off uninvited guests. My six year old, Matthew, has always been pretty enthused about building things, and so he wanted to give an electronics project a try. I thought this would be a good project to start out with for the kids, because its relatively simple, and there is a tangible result at the end (you press a button and something happens). Matt liked the idea. Because this project involved a fair bit of soldering, it turns out that Matt spent most of his time taking photos of the work, although we talked about what was happening at each step. I need to think harder about how to get him involved in the construction process — I think that will be easier once the bread boarding stuff from ebay arrives.

The design is relatively simple. I took the sample debounce circuit (a button, 10k resistor) and software and ran that first. Then we put a peizo buzzer across pin 13 and ground. That meant that with the sample software we had both a light and a noise when you pressed the button. Unfortunately, the pin 13 LED also turns on when the arduino is booting, which means we got two beeps per boot, which was annoying. The peizo buzzer therefore got exiled to pin 12.

Finally, the screech from the peizo buzzer was getting a bit much, so I implemented a simple on-off cycle instead of it staying completely on. This produces a noise a bit more like a cricket’s chirp, which is much less annoying. Finally, we put the whole thing in a case, and I think it looks pretty good. At the same time as putting in the case, we also added a battery power supply and power switch, as Matthew is now keen to take his door bell to school for show and tell.


The pictures in this post were mostly taken by Matthew. The source code (which includes a list of the wiring needed) is in my source repository.